Mastering Twilight Exposure Settings: Dynamic Range, Aperture & ISO Curves
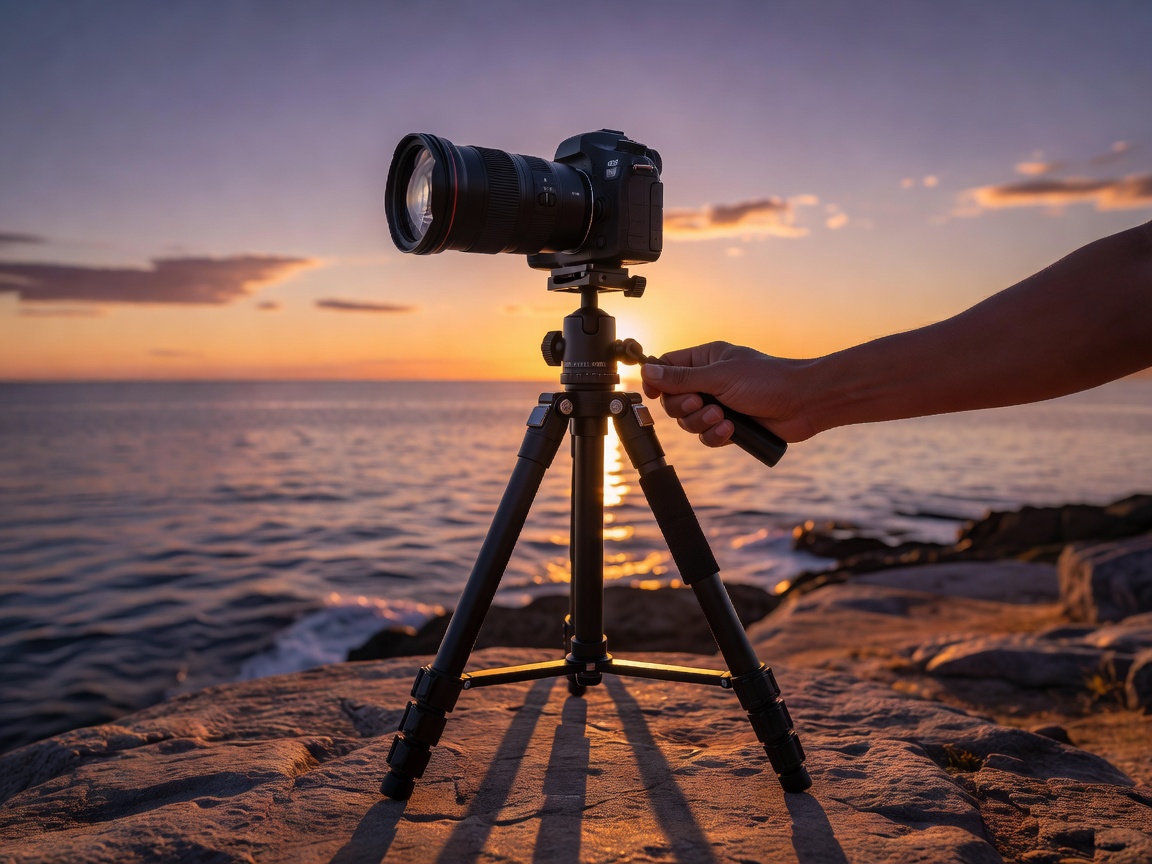
Golden hour and subsequent civil twilight present some of the most challenging lighting conditions in outdoor landscape photography. Within a 30-minute window, ambient luminance can drop by over 8 EV stops while high contrast between direct sun flares and shadowy terrain tests sensor dynamic range limiters.
1. Managing Dynamic Range & Highlight Clipping
When shooting directly into the low sun, digital camera sensors cannot capture both bright solar highlights and deep foreground shadows in a single frame without clipping. To protect highlight details in cloud edges and sky gradients, expose to the right (ETTR) using live histogram monitoring.
| Phase | Optimal Aperture | Base ISO | Filter Recommendation |
|---|---|---|---|
| Golden Hour (-15 min) | f/8 – f/11 | ISO 100 | 3-Stop Soft GND |
| Sun-Drop Moment | f/11 – f/16 (For Sunstars) | ISO 100 | 2-Stop Hard GND |
| Civil Twilight (+15 min) | f/5.6 – f/8 | ISO 200–400 | Circular Polarizer Off |
| Blue Hour (+35 min) | f/4 – f/5.6 | ISO 400–800 | None (Tripod Mandatory) |
2. Exposure Bracketing & HDR Fusion
When physical gradient ND filters are unavailable or when mountain silhouettes produce irregular horizons, Auto Exposure Bracketing (AEB) is essential. Set your camera to shoot a 3-frame or 5-frame bracket separated by 2 EV increments (-2, 0, +2 EV). Post-process using raw Exposure Fusion algorithms to retain natural color tonality without artificial halos.
3. Controlling Lens Flare & Chromatic Aberration
Direct low-angle sunlight hitting front glass elements causes flare ghosting and reduced micro-contrast. Use multi-coated prime lenses, clean all micro-dust particles before sunset, and remove protective UV filters which introduce double reflections.